⚙️ Settings
Settings
Configure your organization profile, branches, users, and roles & permissions to customize Servicing24 for your team.
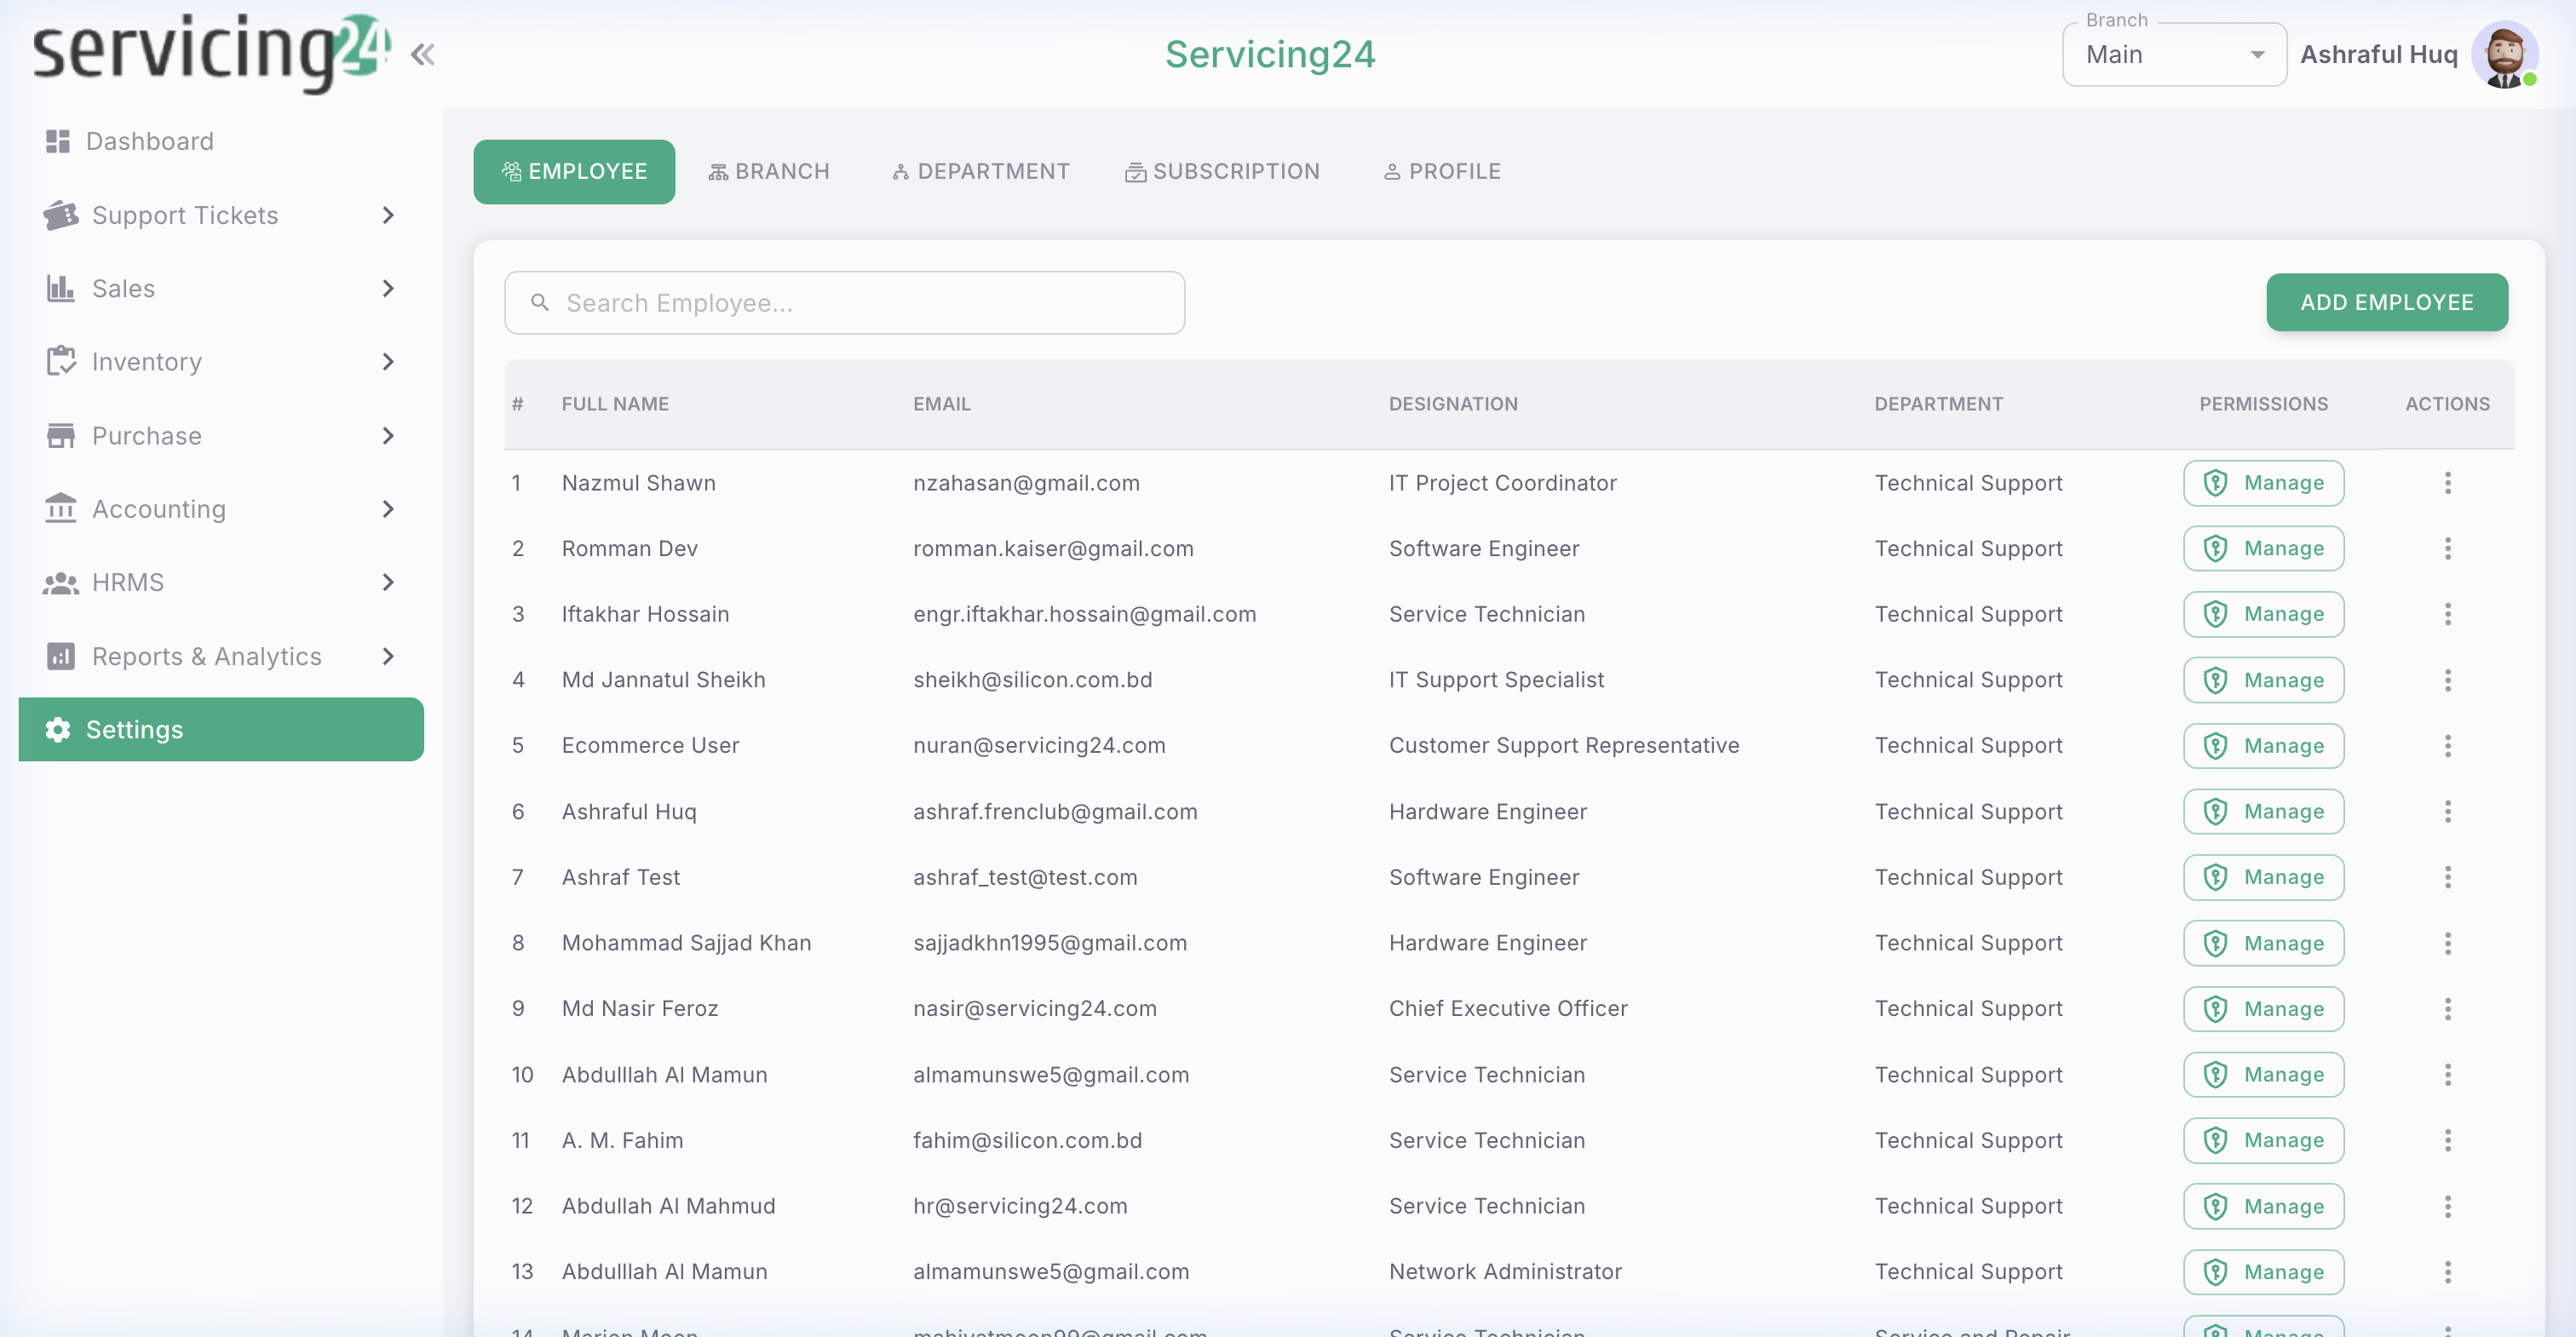
📸 Organization Settings — your central configuration hub
Organization Profile
Your organization profile contains your company's official information used on invoices, tickets, delivery notes, and other documents.
1
Go to Settings
Click the Settings icon (⚙️) in the left sidebar.
2
Update company information
Edit your company name, address, phone, email, website, and tax/VAT registration number.
3
Upload company logo
Upload your logo (PNG or JPG, recommended 200x200px). It will appear on printed documents.
4
Set timezone and currency
Choose your operating timezone and default currency. These affect timestamps and financial calculations across the system.
5
Save changes
Click Save. Changes take effect immediately across all documents and reports.
NoteYour organization name and currency cannot be changed after your first financial transaction is posted. Contact support if you need to change these.
Branch Management
If your organization has multiple locations (branches, warehouses, or service centers), manage them here.
1
Open the Branches tab in Settings
Click the Branches tab to see all configured branches.
2
Add a new branch
Click 'Add Branch'. Enter the branch name, address, phone number, and assign a Branch Manager.
3
Set as default branch
The default branch is pre-selected in most forms (tickets, stock, purchases). Each user can have a default branch.
4
Deactivate a branch
Inactive branches cannot receive new transactions but their historical data is preserved.
WarningStock transfers and inventory records are branch-specific. Ensure branches are set up correctly before recording any inventory movements.
User Management
Manage who has access to your Servicing24 account — add new users, modify roles, and deactivate former employees.
1
Go to Settings → Users tab
See all active and inactive users in your organization.
2
Invite a new user
Click 'Invite User'. Enter their email address and assign a role. They'll receive an email with a link to set their password.
3
Change a user's role
Click the Edit icon next to a user. Change their assigned role from the dropdown. Changes take effect immediately.
4
Assign branch access
Restrict which branches a user can access, ensuring data privacy between locations.
5
Deactivate a user
When an employee leaves, click Deactivate on their profile. They can no longer log in, but all their history is preserved.
6
Reset a user's password
Click 'Send Password Reset' to send the user a reset link if they've forgotten their password.
CautionDeactivating a user is immediate — they are instantly logged out and cannot access the system. Make sure to transfer any open tickets before deactivating an agent.
Roles & Permissions (RBAC)
Servicing24 uses a powerful Role-Based Access Control system. Create custom roles with granular permissions for each module and action.
1
Go to Settings → Roles tab
View all existing roles. There are default roles (Super Admin, Manager, Agent) and you can create custom ones.
2
Create a new role
Click 'Add Role'. Give it a descriptive name (e.g., 'Warehouse Staff', 'Accounts Officer').
3
Configure permissions
For each module, set what this role can do:
4
Save the role
Click Save. The role is now available to assign to users.
5
Assign role to users
Go to the Users tab and assign the new role to the appropriate team members.
TipStart with the principle of least privilege — give each role only the permissions it needs. You can always add more later.
Notification Settings
Configure when and how Servicing24 sends notifications — email alerts, in-app notifications, and SMS messages.
1
Go to Settings → Notifications tab
See all configurable notification events.
2
Configure ticket notifications
Enable/disable: New ticket created, Ticket assigned to you, Ticket status updated, New note added.
3
Configure sales notifications
Enable: Invoice due date reminders, Payment received confirmations, Quotation expiry alerts.
4
Configure inventory alerts
Enable: Low stock threshold alerts, Stock transfer notifications.
5
Set notification channels
Choose whether each notification goes via email, in-app, or both. SMS requires SMS provider configuration.
6
Save preferences
Click Save. Notification preferences can be set globally (by admin) or individually by each user.