Servicing24/Docs/Getting Started

Overview

Servicing24 is an all-in-one business management platform covering support tickets, sales, inventory, accounting, HRMS, and analytics โ€” all in a single, unified system.

๐ŸŽซ

Support Tickets

Create, assign, and resolve customer support tickets with full history.

๐Ÿ’ฐ

Sales & CRM

Manage quotations, invoices, customers, and CRM pipeline.

๐Ÿ“ฆ

Inventory

Track stock, transfers, adjustments, and item master records.

๐Ÿฆ

Accounting

Full double-entry accounting with financial reports.

๐Ÿ‘ฅ

HRMS

Attendance tracking and leave management for your team.

๐Ÿ“ˆ

Analytics

Deep insights into tickets, sales, and inventory performance.

โ„น๏ธ
NoteServicing24 uses role-based access control (RBAC). What you see in the sidebar depends on the permissions assigned to your role.

Login & Access

Access Servicing24 through your web browser at your organization's URL. No mobile app installation is required.
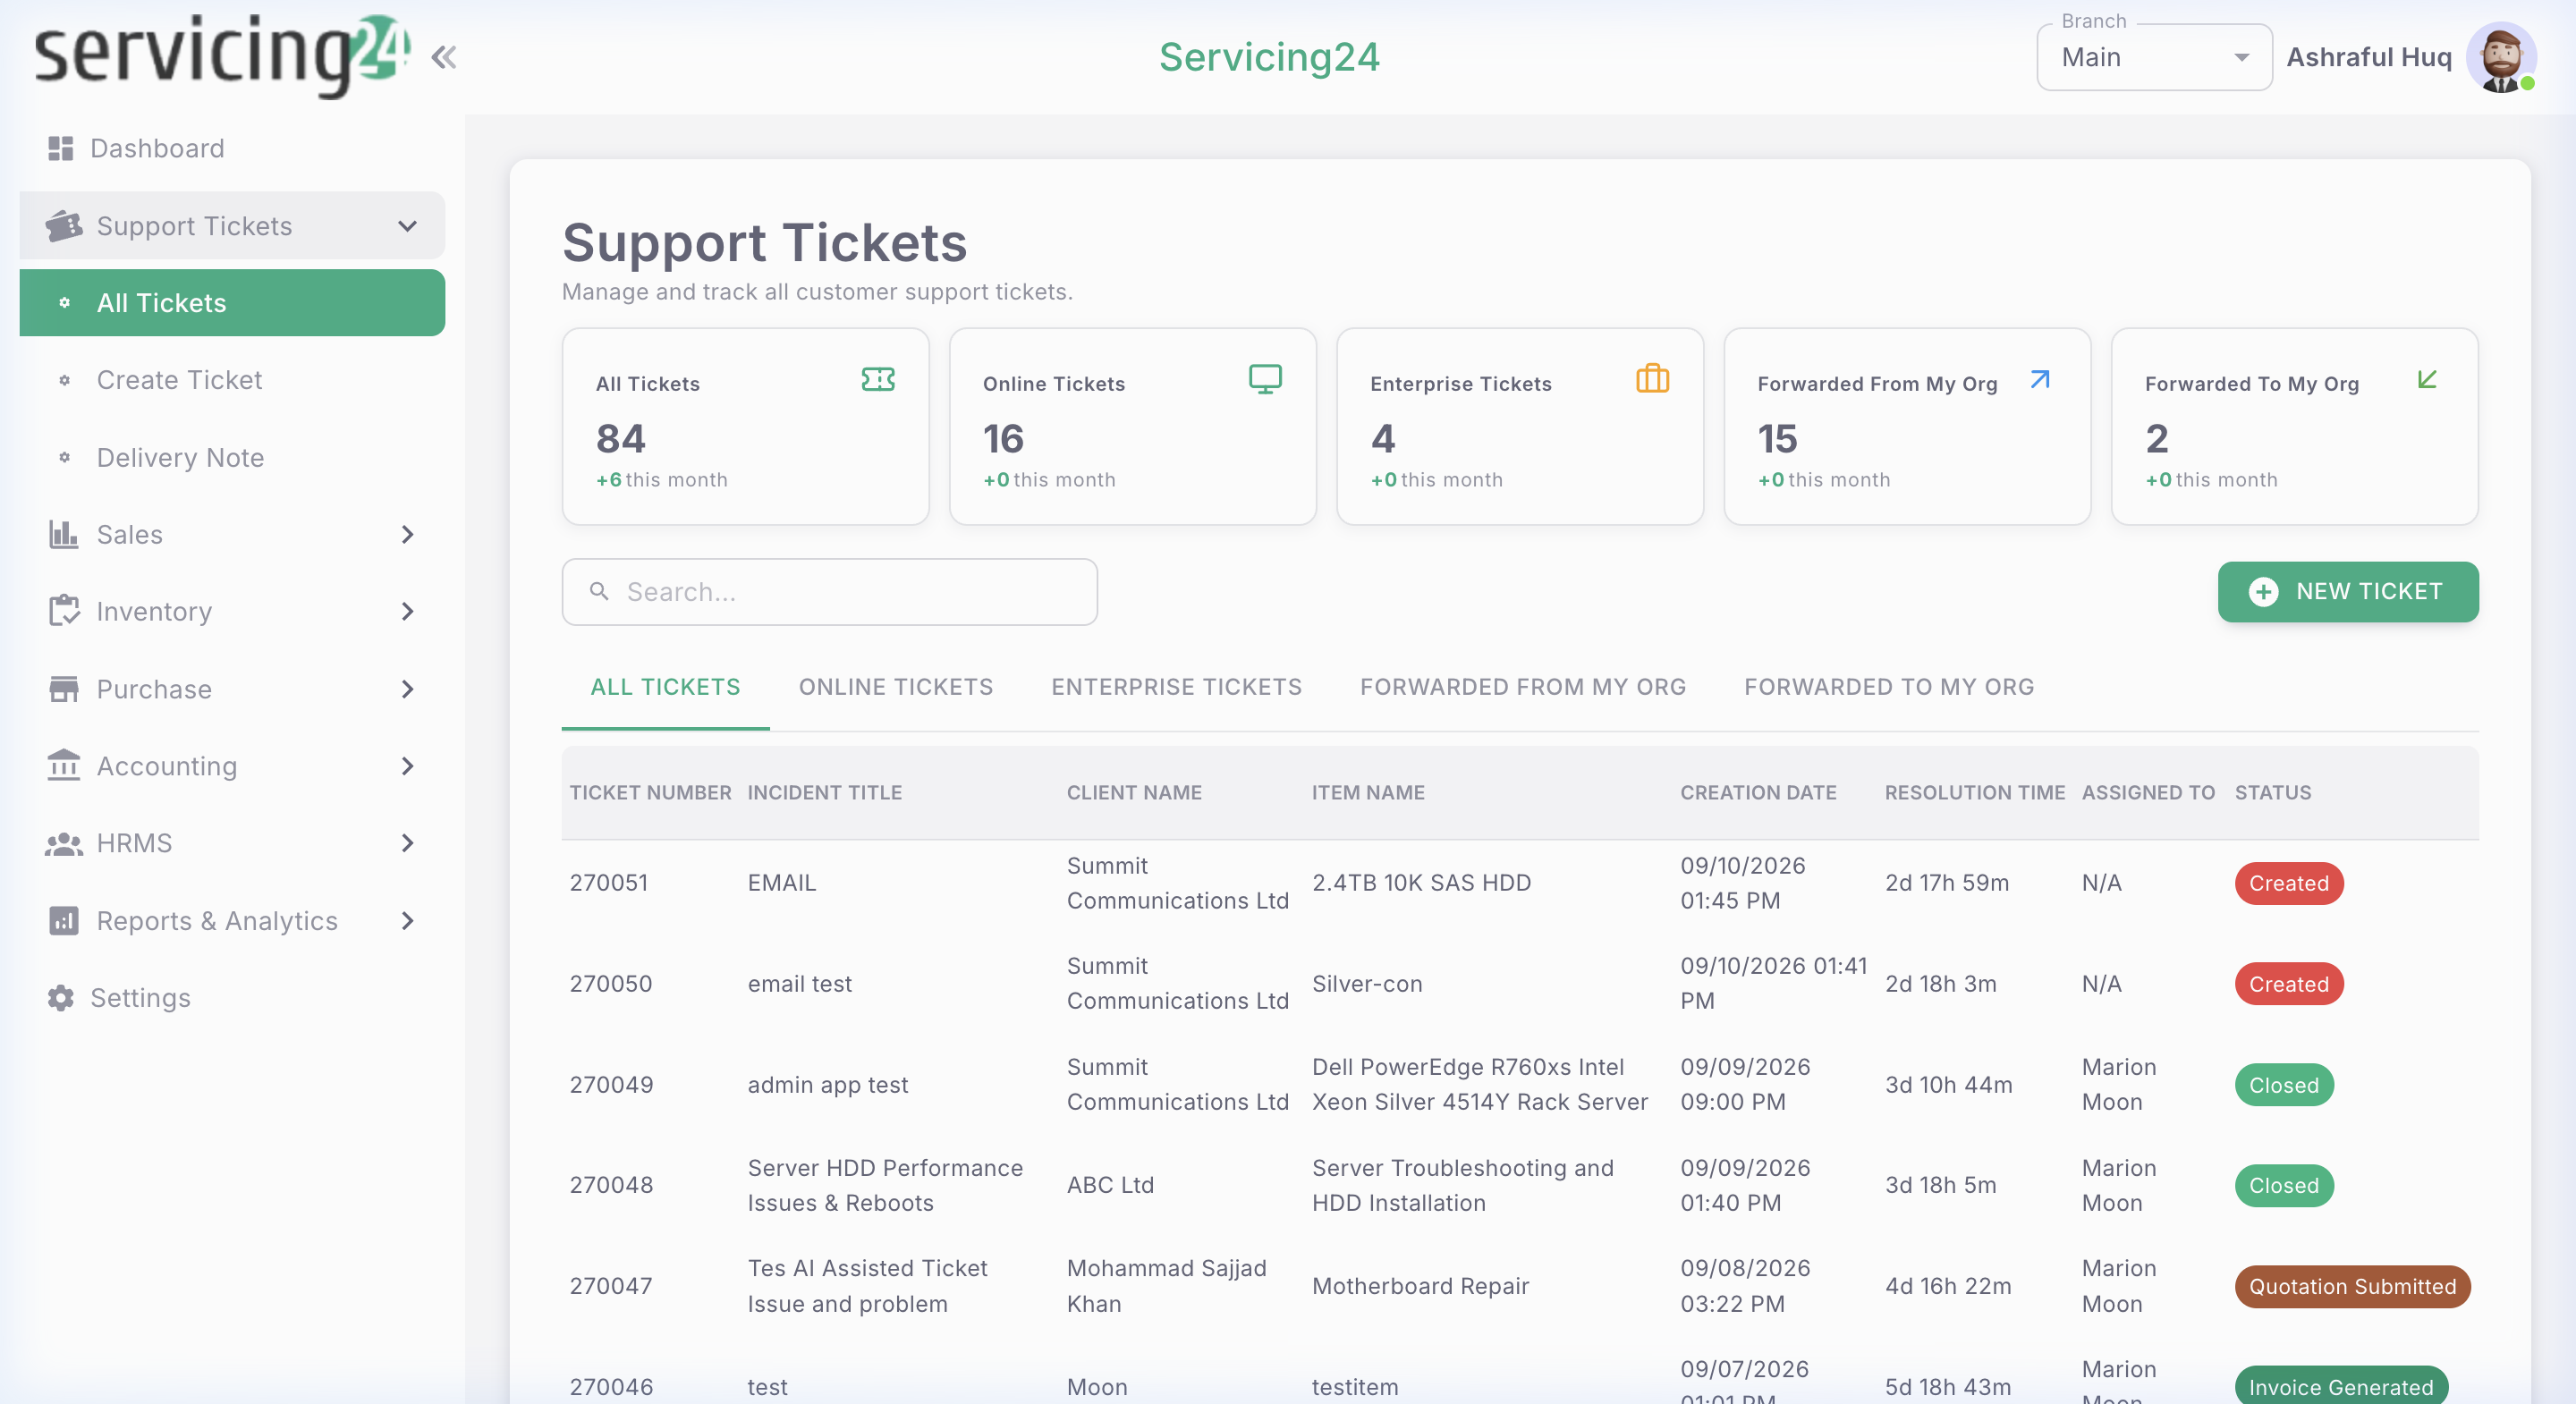
1
Open your browser and navigate to Servicing24
Go to the URL provided by your administrator. You'll see the login screen.
2
Enter your credentials
Type your registered email address and password, then click Sign In.
Servicing24 Login Page
3
Select your organization
If you belong to multiple organizations, you'll be prompted to select which one to enter.
4
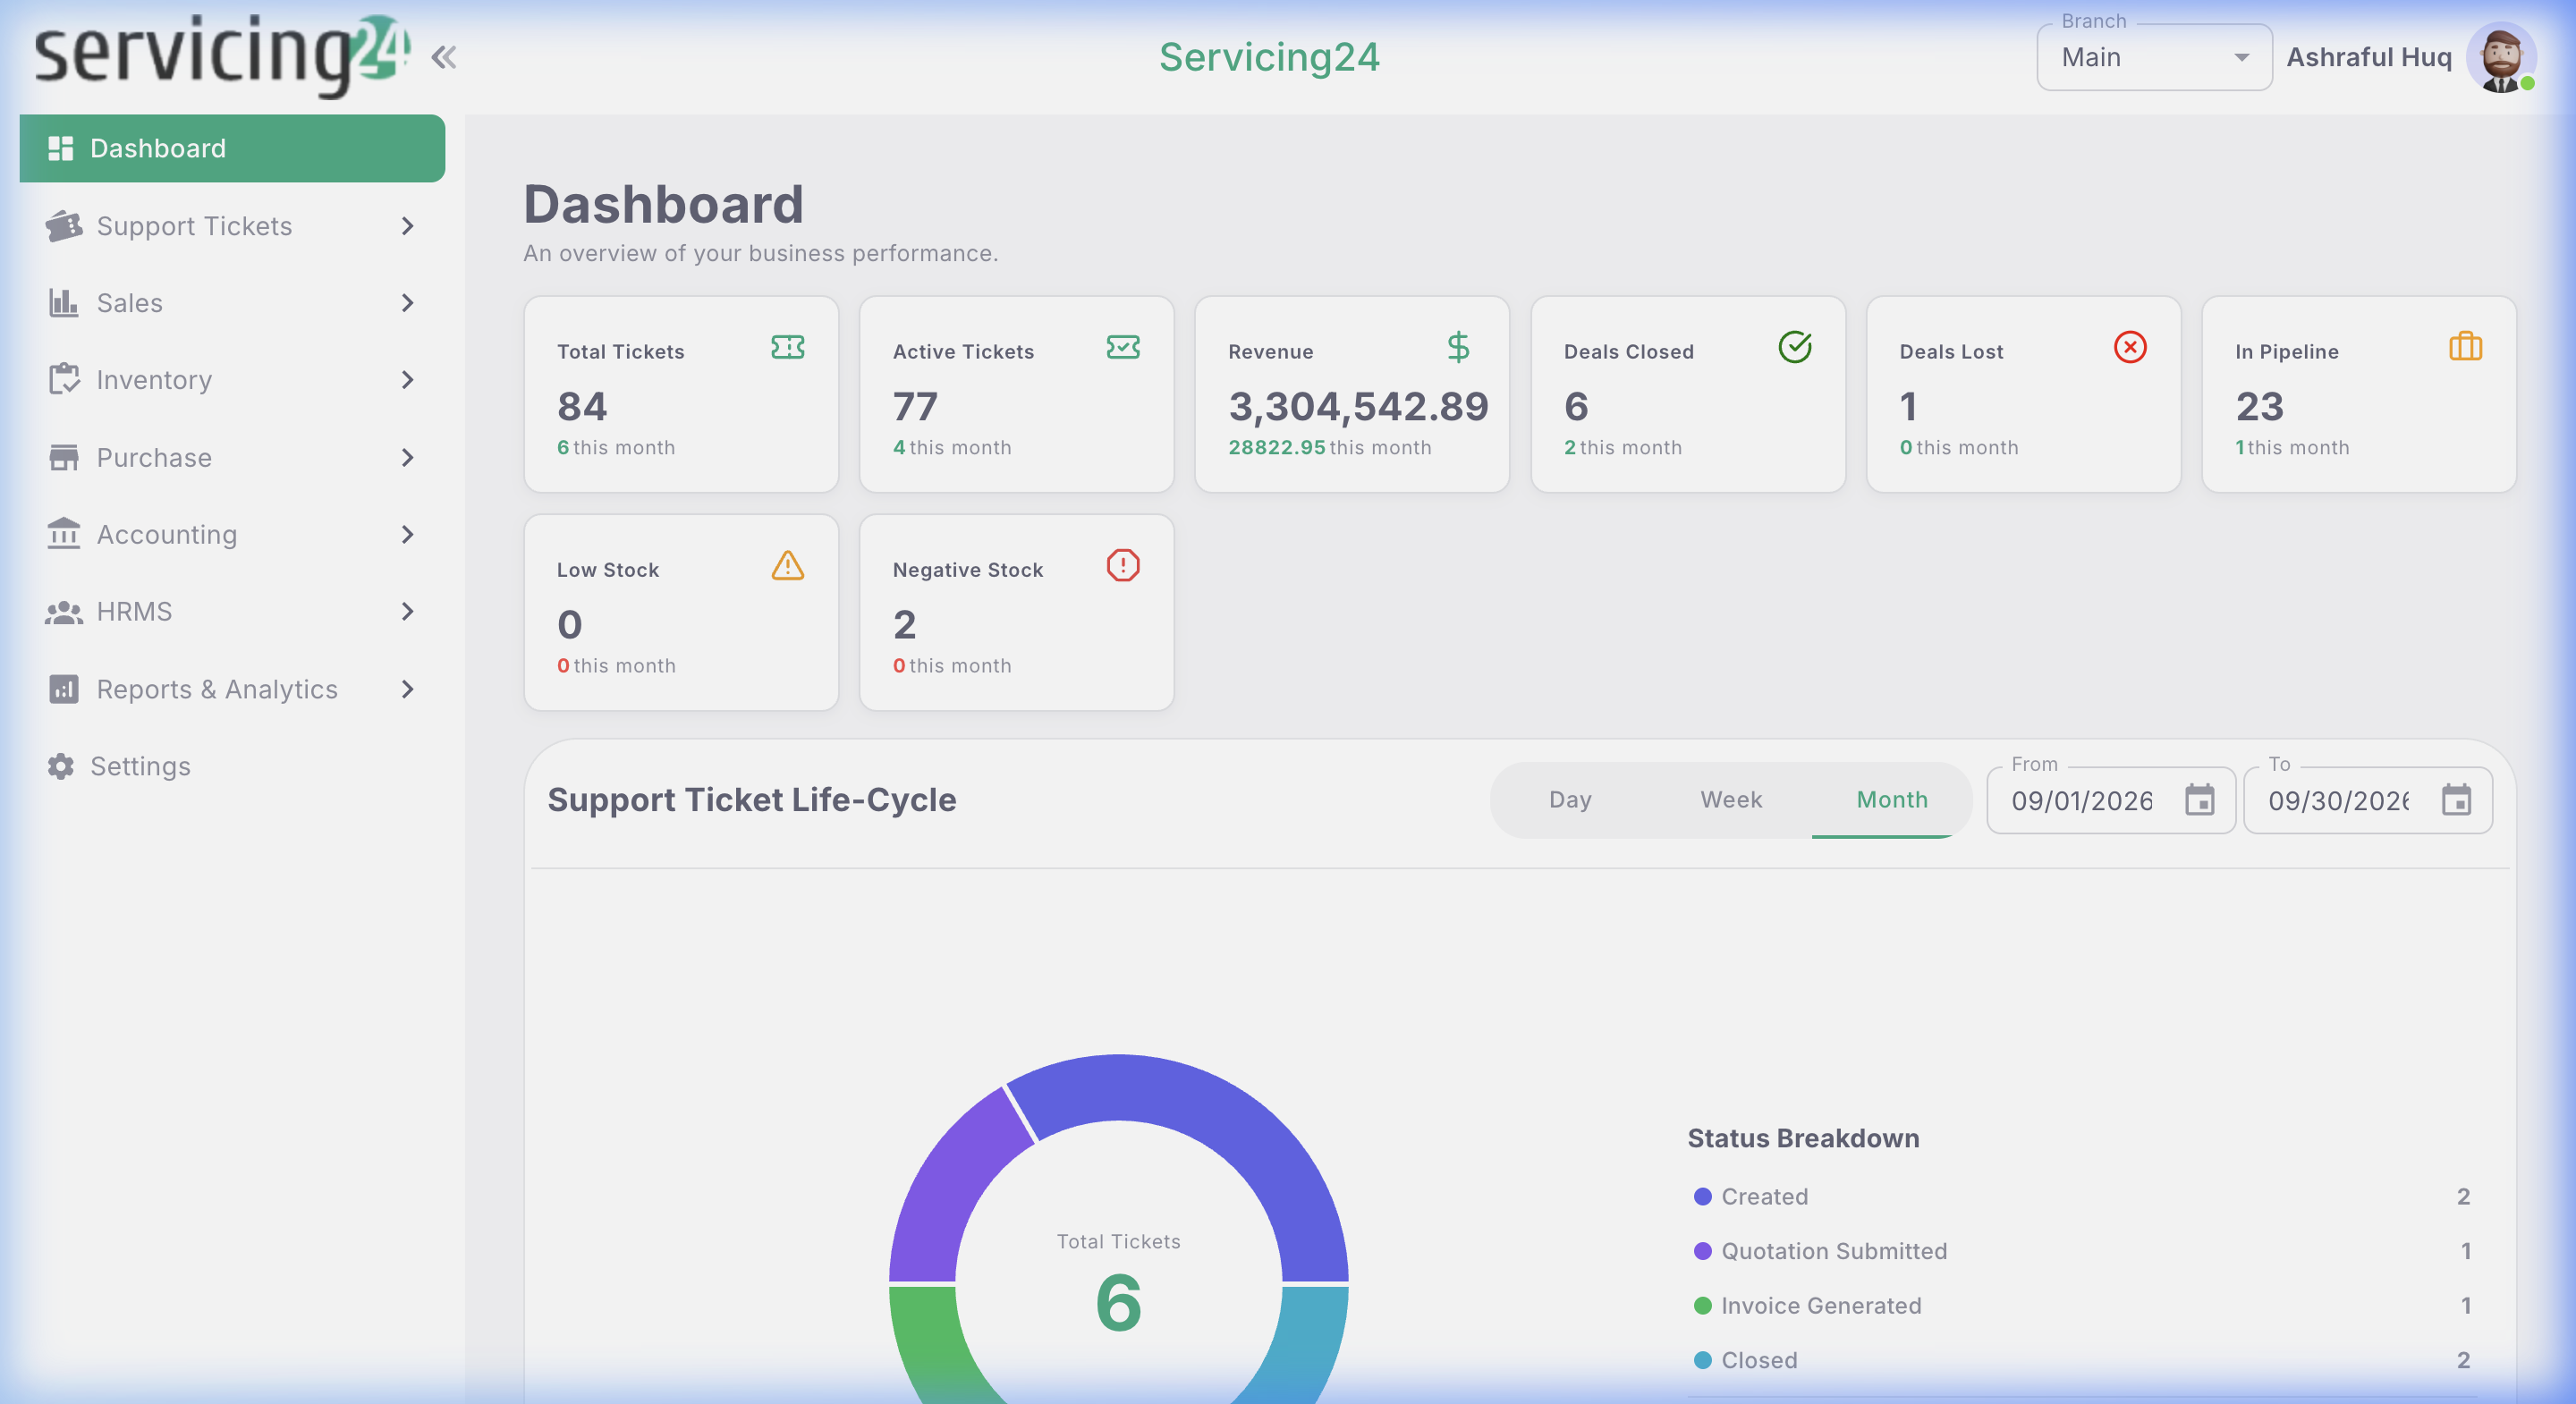
You're in!
After successful login, you'll land on the Dashboard.
Dashboard after successful login
๐Ÿ’ก
TipYou can stay signed in by checking 'Remember me' on the login screen. Your session will persist until you explicitly log out.

Organization Setup

As an administrator, the first thing to do is configure your organization settings โ€” company name, logo, branches, and timezone.
1
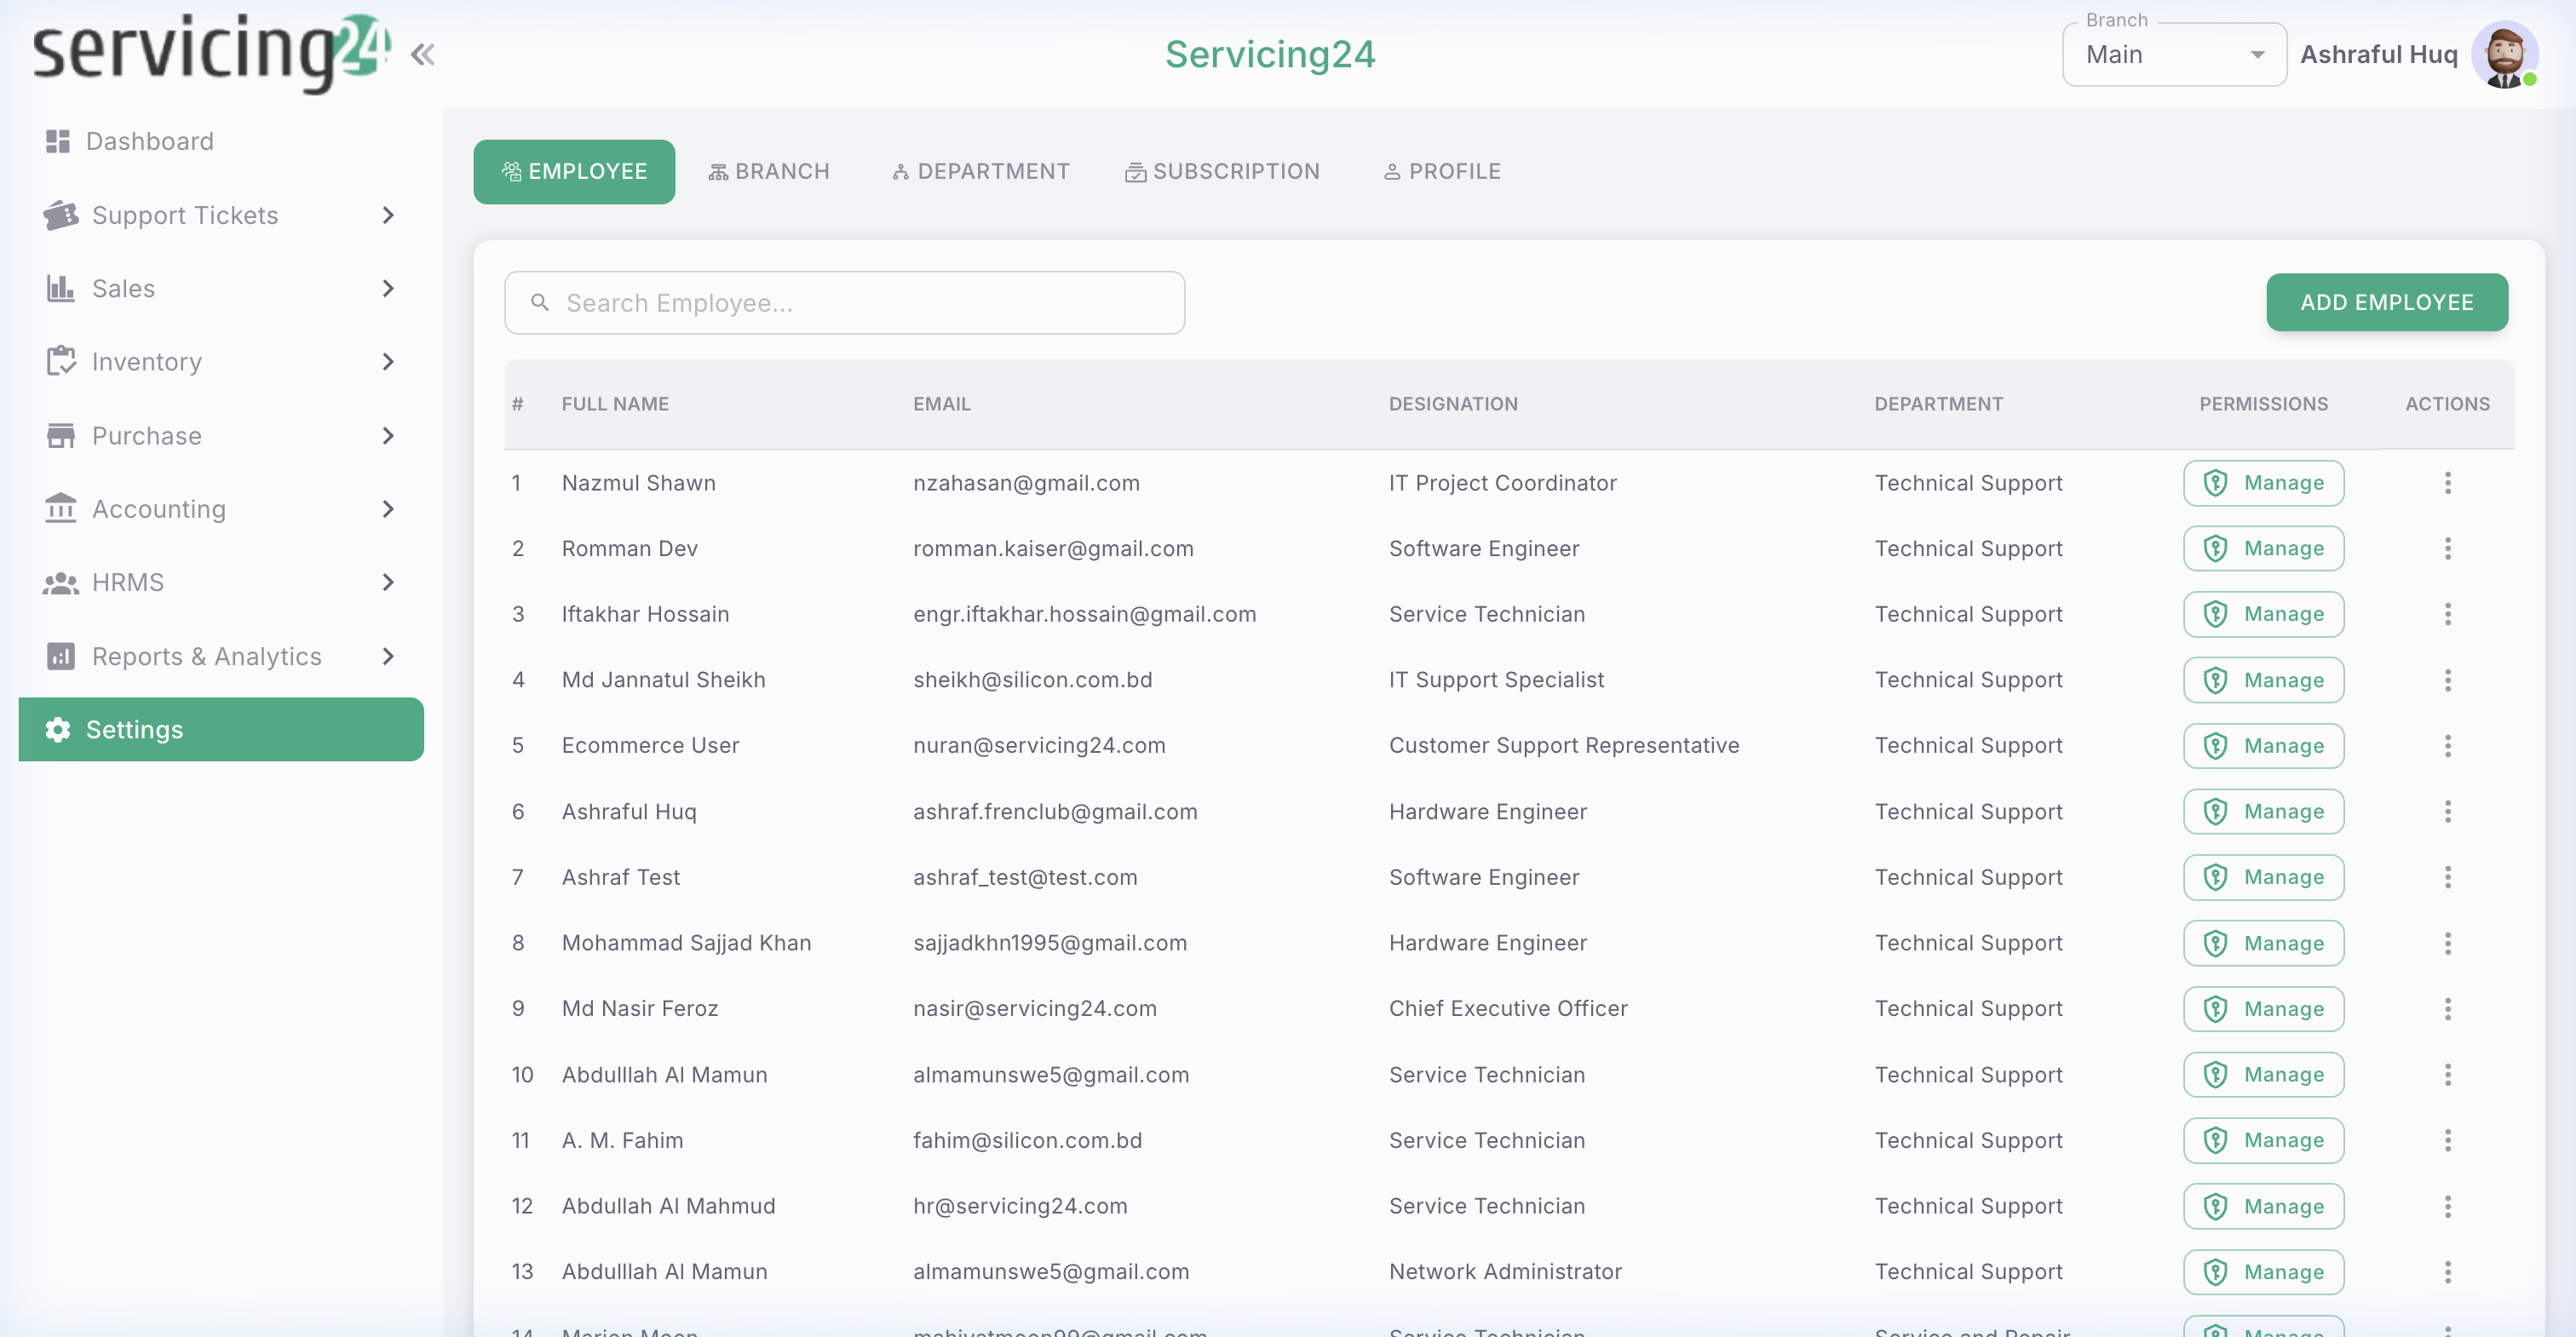
Go to Settings
Click Settings in the left sidebar (gear icon โš™๏ธ) to open the Organization Settings page.
Organization Settings page
2
Fill in your organization profile
Update your company name, address, phone number, email, and website. Click Save to apply changes.
3
Set up branches
If your company has multiple locations, navigate to the Branches tab and add each branch with its name, address, and contact details.
4
Configure timezone and currency
Set the correct timezone and default currency for your organization so that all reports and timestamps are accurate.

Invite Your Team

Add your colleagues and staff members to Servicing24. Each user gets their own login credentials and is assigned a role that controls what they can access.

1
Open Settings โ†’ User Management
In the Settings page, navigate to the Users tab to see all existing users.
2
Click 'Invite User'
Enter the new user's email address and select the appropriate role from the dropdown.
3
User receives email invitation
The invitee gets an email with a link to set their password and activate their account.
4
Confirm the user appears in your list
Once they accept the invitation, they appear as an active user in your user list.
โš ๏ธ
WarningOnly Super Admins and users with User Management permissions can invite new users.

Roles & Permissions Overview

Servicing24 uses a powerful Role-Based Access Control (RBAC) system. Each user is assigned one or more roles, and each role has granular permissions for each module.

RoleDashboardTicketsSalesInventoryAccountingSettings
Super Adminโœ…โœ…โœ…โœ…โœ…โœ…
Managerโœ…โœ…โœ…โœ…โœ…โŒ
Support Agentโœ…โœ…โŒโŒโŒโŒ
Accountantโœ…โŒโœ…โŒโœ…โŒ
Warehouse Staffโœ…โŒโŒโœ…โŒโŒ
โ„น๏ธ
NoteThis is a sample permission table. Your actual roles and permissions are fully customizable under Settings โ†’ Roles & Permissions.