Servicing24/Docs/Accounting
โ„น๏ธ
NoteThe Accounting module is role-gated. Only users with Accounting Access permission can view and manage financial records.

Chart of Accounts

The Chart of Accounts (COA) is the foundation of your accounting system โ€” a structured list of all financial accounts used to categorize transactions.
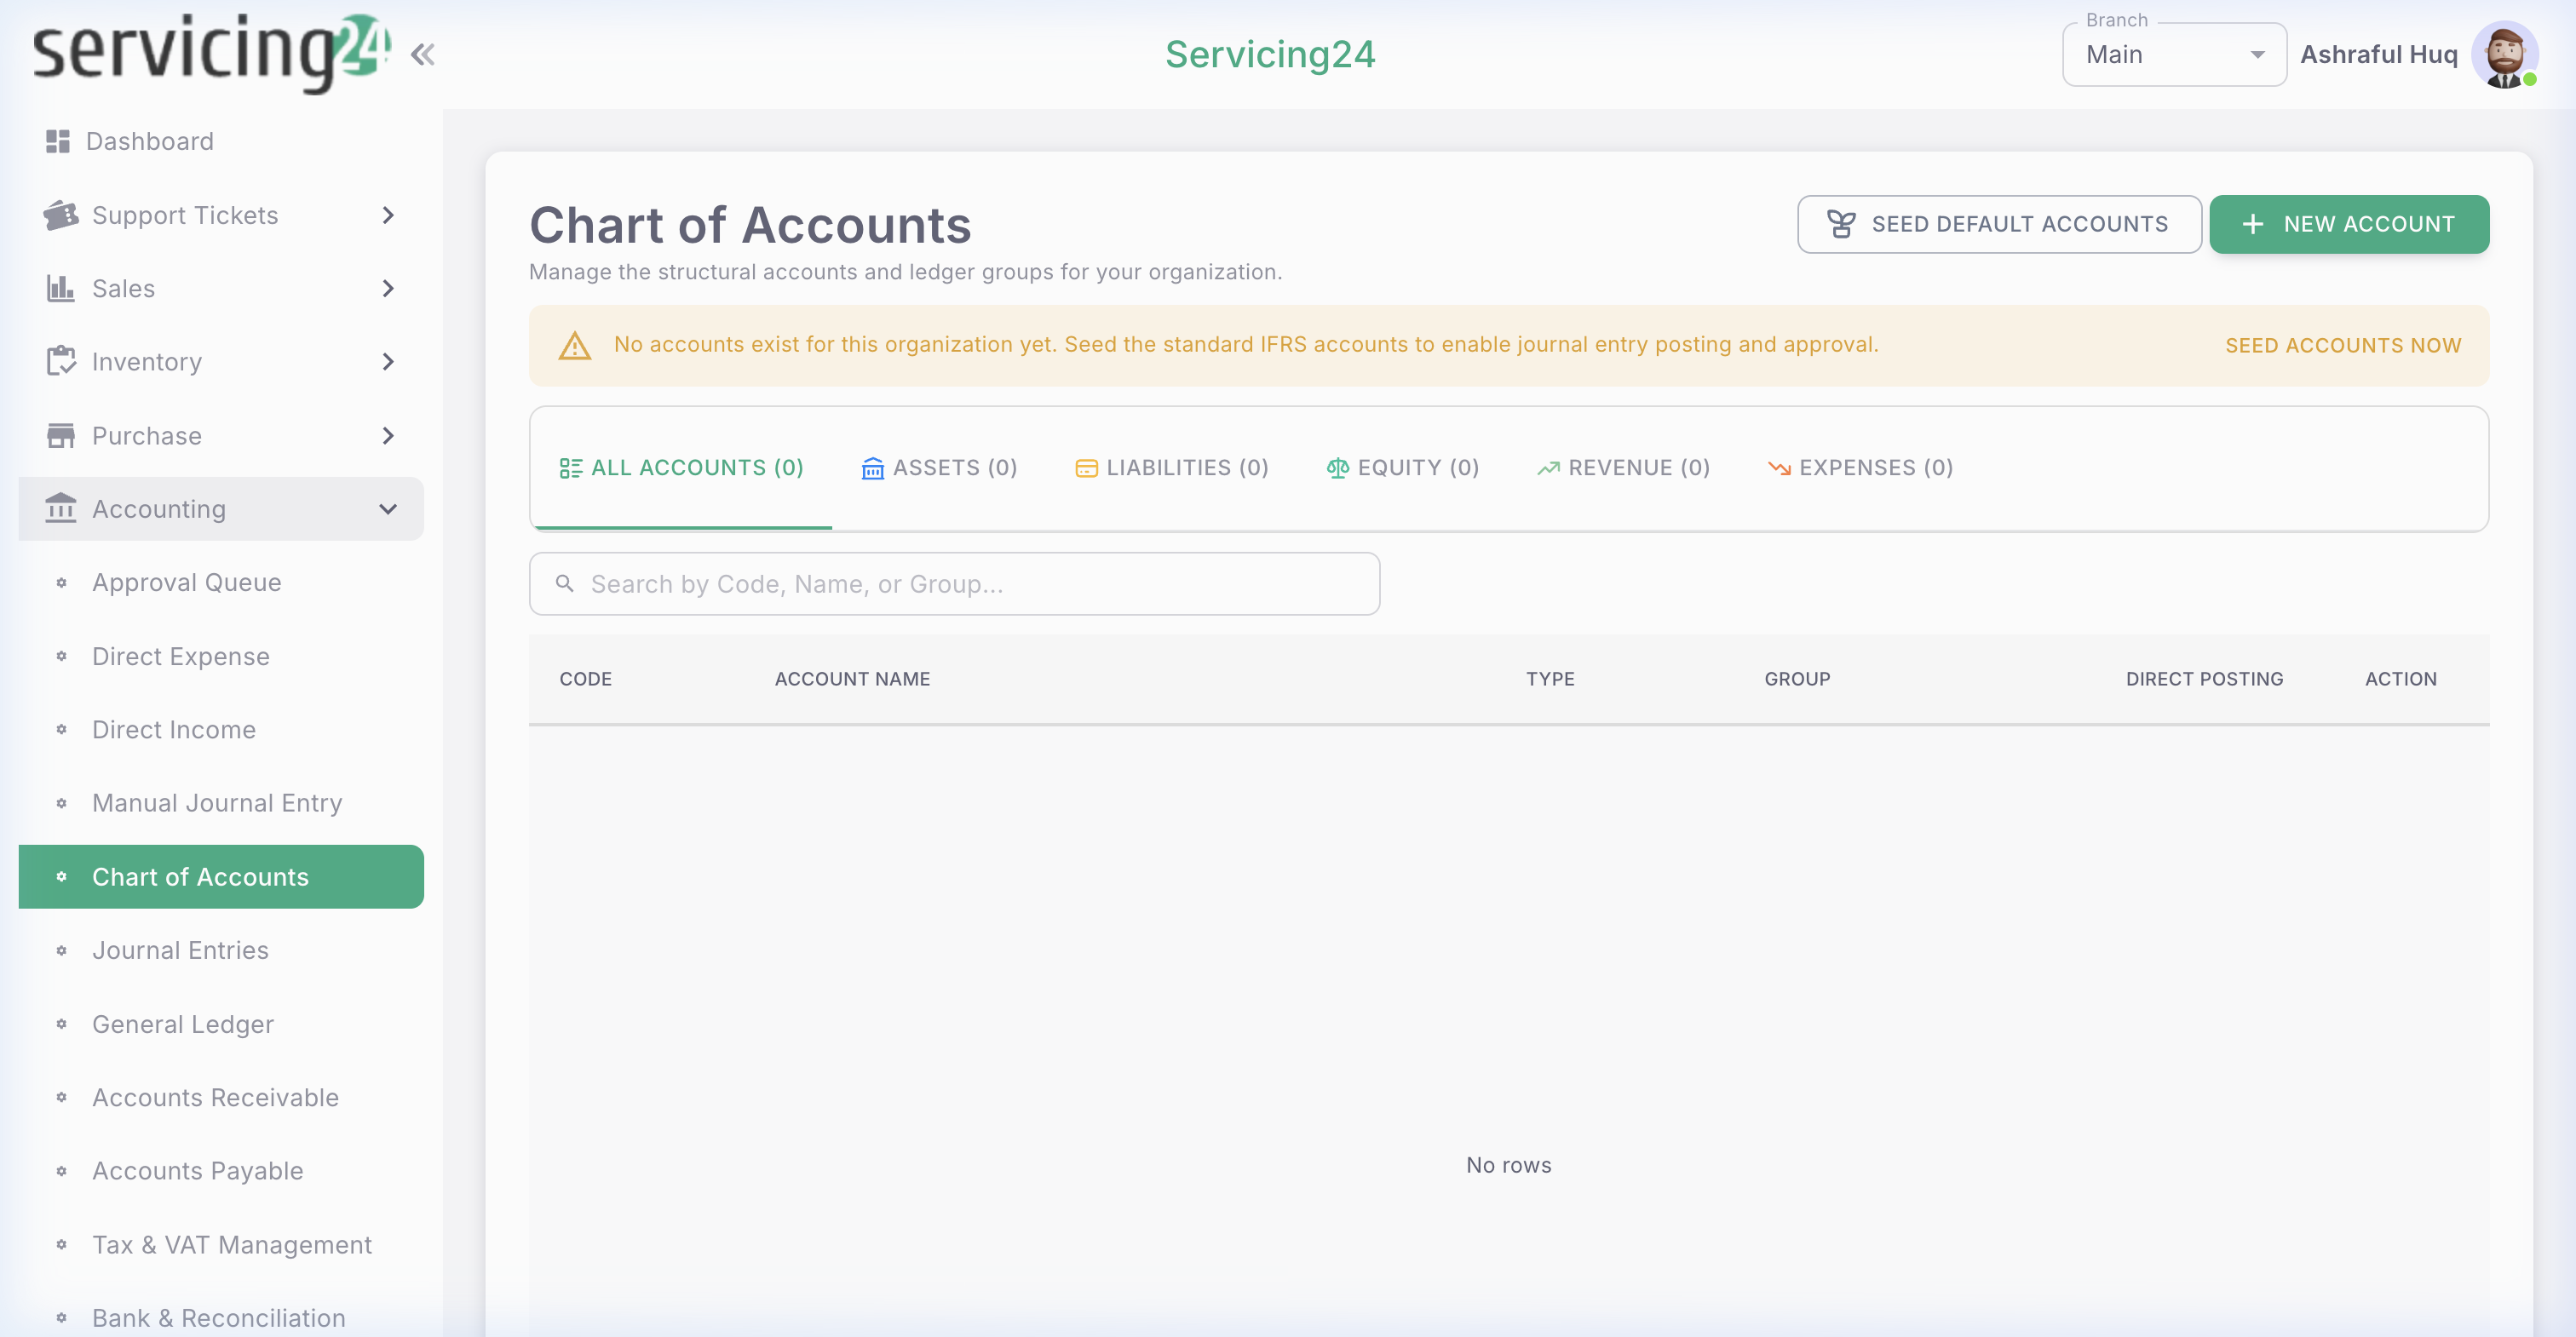
app.servicing24.com/accounting/chart-of-accounts
Chart of Accounts โ€” hierarchical structure of all financial accounts
๐Ÿ“ธ Chart of Accounts โ€” hierarchical structure of all financial accounts
1
Go to Accounting โ†’ Chart of Accounts
View the full hierarchy of accounts organized by type: Assets, Liabilities, Equity, Revenue, and Expenses.
2
Add a new account
Click 'Add Account'. Choose the Account Type, Parent Account, and give it a descriptive name and account code.
3
Set account properties
Mark accounts as sub-accounts, control accounts, or bank accounts as appropriate.
4
Activate or deactivate accounts
Inactive accounts cannot be used in new transactions but their history is preserved.
โš ๏ธ
WarningThe default COA is set up during organization onboarding. Modifying account types after transactions have been posted can cause reporting errors. Consult your accountant before making structural changes.

Journal Entries

Journal entries are the building blocks of double-entry accounting. Most entries are created automatically by the system when you post transactions. Manual entries allow custom adjustments.
app.servicing24.com/accounting/journal-entries
Journal Entries list โ€” all posted journal entries with reference and amounts
๐Ÿ“ธ Journal Entries list โ€” all posted journal entries with reference and amounts
1
Go to Accounting โ†’ Manual Journal Entry
To create a manual entry, click 'New Journal Entry'.
2
Enter date and reference
Set the transaction date and add a meaningful reference note (e.g., 'Salary Accrual - August 2024').
3
Add debit and credit lines
Add at least one debit line and one credit line. Total debits must equal total credits (the entry must balance).
4
Attach supporting documents
Upload the supporting document (bank statement, receipt, etc.) for audit purposes.
5
Post the entry
Click Post. The entry is immediately reflected in the General Ledger and all affected account balances.
๐Ÿšจ
CautionManual journal entries should only be made by qualified accountants. Incorrect entries can distort financial statements.

Approval Queue

The Approval Queue gathers all financial transactions pending management approval โ€” expenses, invoices, journal entries โ€” in one place.

1
Go to Accounting โ†’ Approval Queue
See all transactions awaiting your approval, sorted by date and amount.
2
Review each item
Click any item to view its full details, attached documents, and the person who submitted it.
3
Approve or Reject
Click Approve to process the transaction, or Reject (with a reason) to return it to the submitter.

General Ledger

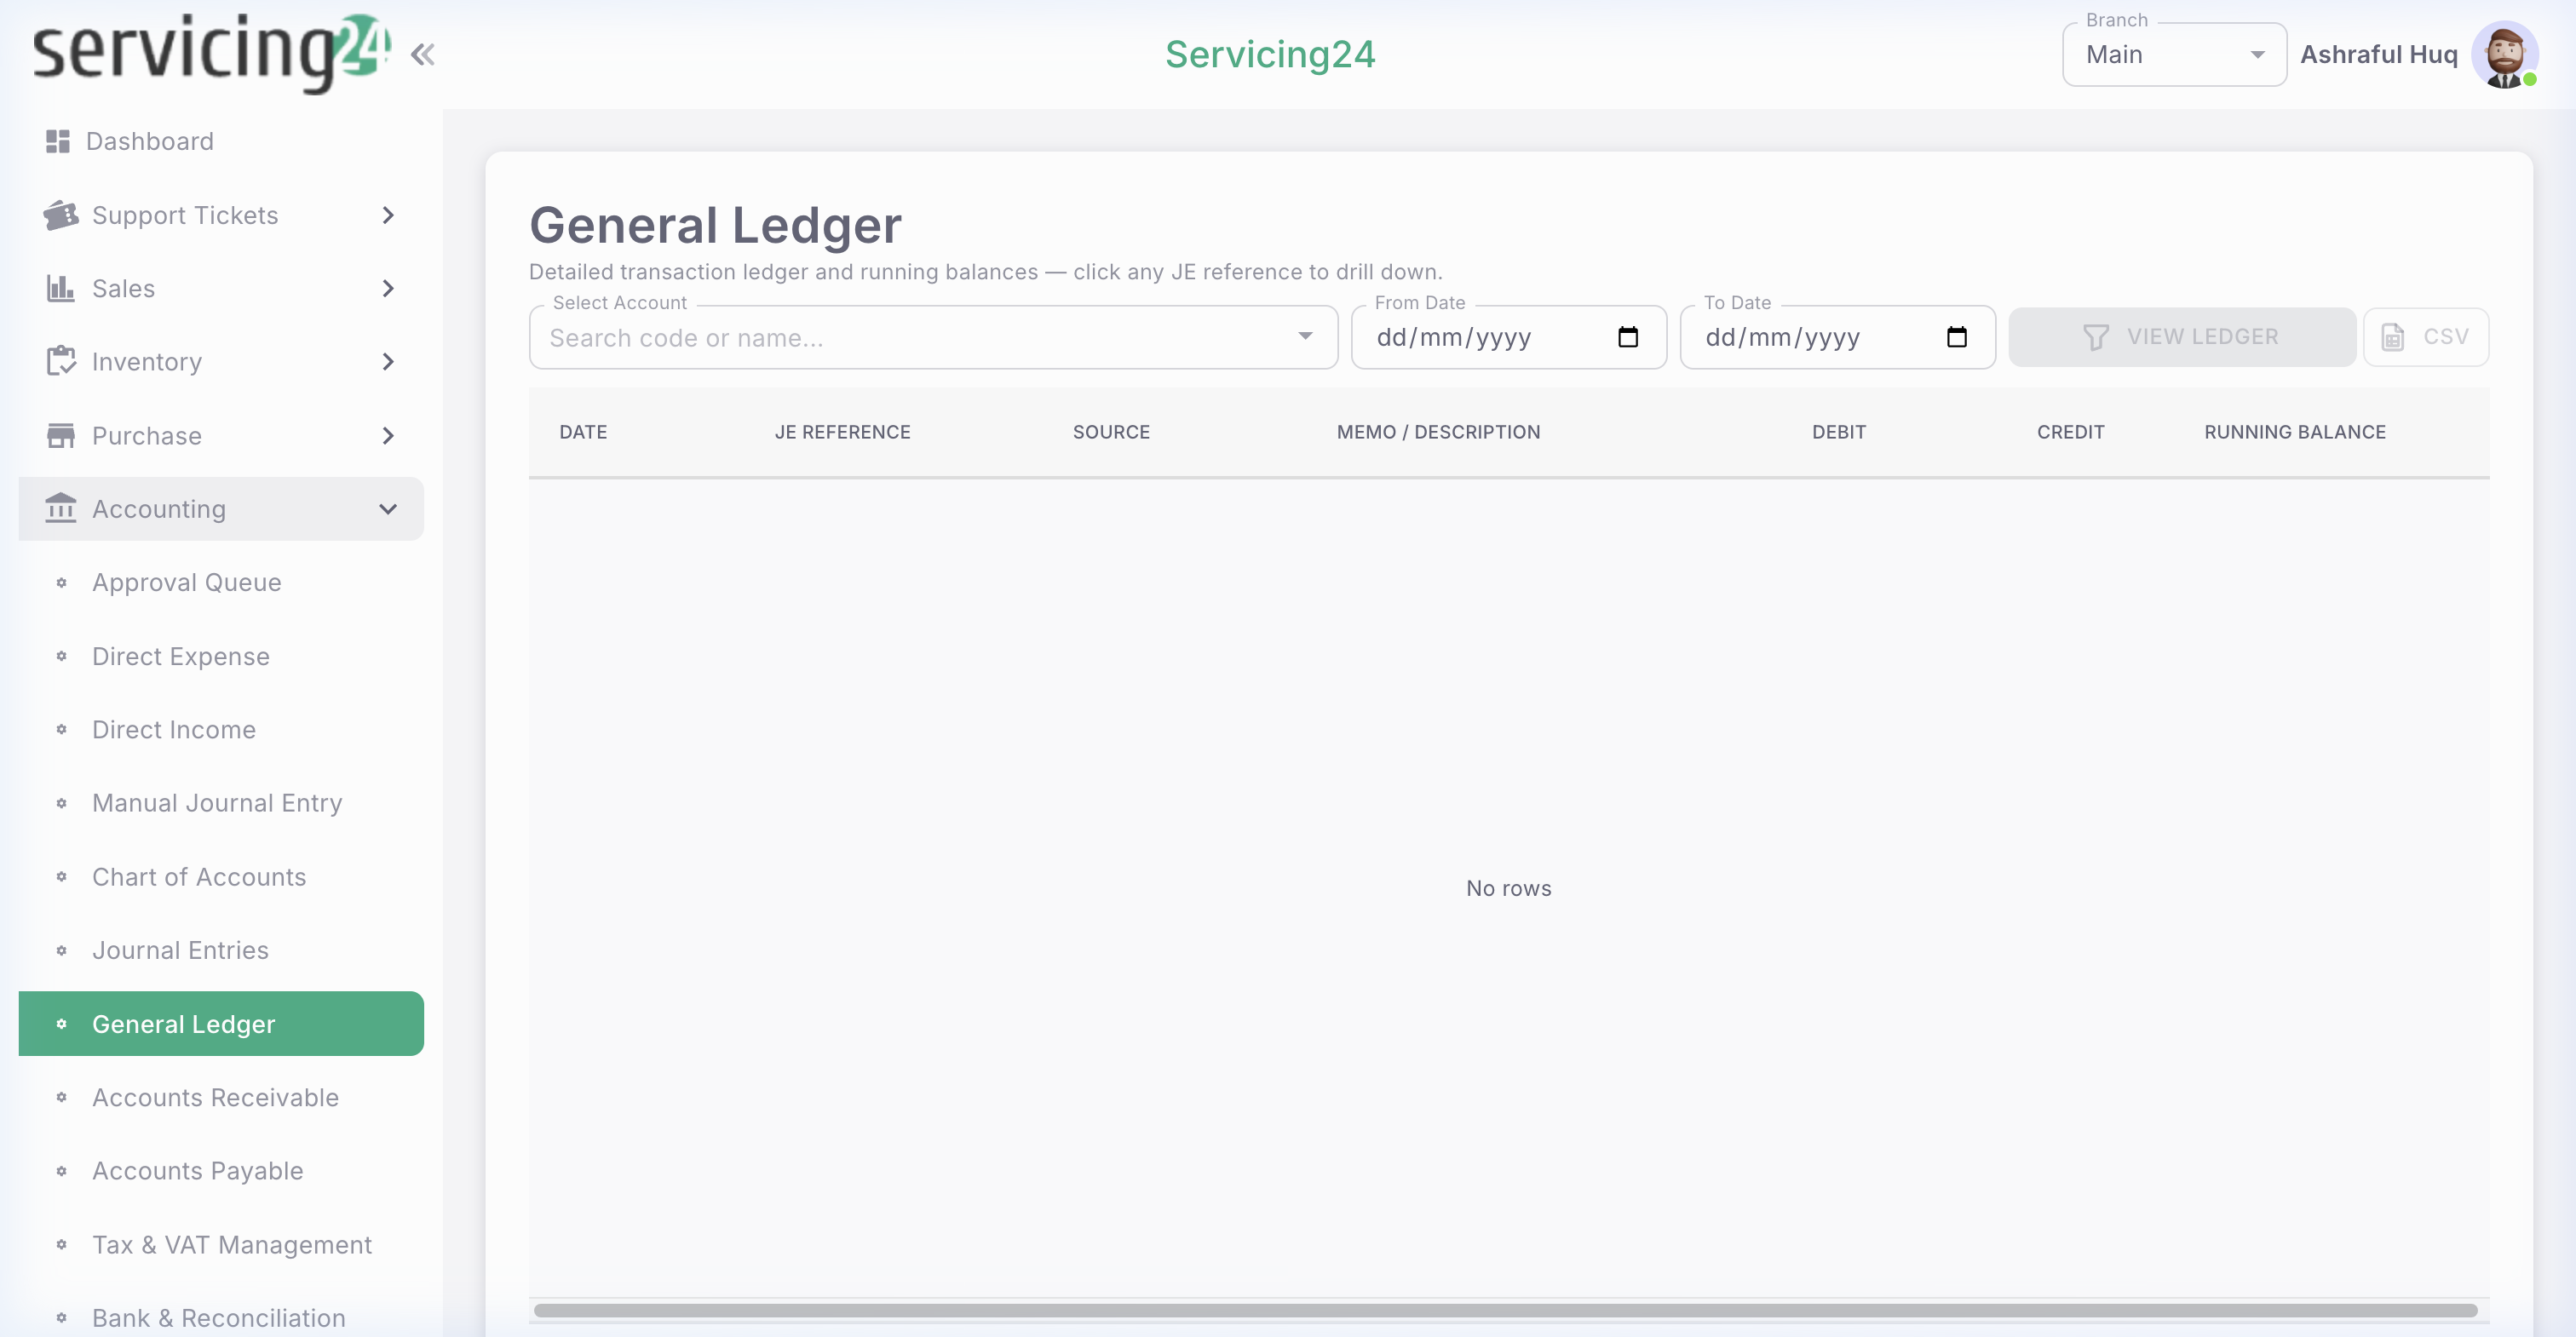
The General Ledger shows every financial transaction that has been posted to a specific account โ€” the most detailed view of your accounting records.

1
Go to Accounting โ†’ General Ledger
Select an account and date range to view all transactions posted to it.
2
View running balances
Each row shows the debit, credit, and running balance for the account, fully auditable.
3
Drill down to source
Click any entry to jump to the original transaction (invoice, payment, journal entry) that generated it.

Accounts Receivable & Payable

Track what customers owe you (AR) and what you owe to suppliers (AP).

1
Accounts Receivable
Go to Accounting โ†’ Accounts Receivable. See all outstanding customer invoices with aging analysis (current, 30, 60, 90+ days overdue).
2
Send payment reminders
Select overdue invoices and click 'Send Reminder' to notify customers via email.
3
Accounts Payable
Go to Accounting โ†’ Accounts Payable. See all amounts owed to suppliers with aging and payment due dates.
4
Record supplier payments
When you pay a supplier, record the payment against their AP balance to mark it settled.

Tax & VAT Management

Configure tax rates and track VAT obligations across all transactions.

1
Go to Accounting โ†’ Tax & VAT Management
View all configured tax rates and their application rules.
2
Add a tax rate
Click 'Add Tax'. Enter the name (e.g., 'VAT 15%'), rate percentage, and tax account.
3
Apply to transactions
Tax rates are selectable on invoices, purchase orders, and expenses. The system calculates the tax amount automatically.
4
Generate VAT report
Under Financial Reports, generate a VAT Summary report for any period to see total tax collected and paid.

Bank Reconciliation

Reconcile your bank statements against your accounting records to ensure they match and catch any discrepancies.

1
Go to Accounting โ†’ Bank & Reconciliation
Select the bank account and statement period.
2
Import bank statement
Upload your bank statement CSV or manually enter the ending balance from your bank.
3
Match transactions
The system suggests matches between bank transactions and your book entries. Review and confirm each match.
4
Identify unmatched items
Unmatched entries may indicate missing transactions, timing differences, or bank errors. Investigate each one.
5
Complete reconciliation
Once all items are matched, mark the reconciliation as complete. The statement is locked for the period.

Financial Reports

Generate standard financial statements and reports for any period with a single click.

๐Ÿ“Š
Profit & Loss
Revenue vs expenses for the period. Shows net profit or loss.
๐Ÿ“‹
Balance Sheet
Assets, liabilities, and equity at a point in time.
๐Ÿ’ธ
Cash Flow Statement
Operating, investing, and financing cash flows.
๐Ÿ“’
Trial Balance
All account balances to verify debits equal credits.
๐Ÿงพ
VAT Report
Summary of tax collected and paid for VAT filing.
๐Ÿ“ˆ
Aging Report
AR and AP aging analysis for cash flow management.

Fixed Assets & Depreciation

Track your company's fixed assets (equipment, vehicles, property) and automatically calculate depreciation.

1
Go to Accounting โ†’ Fixed Assets
View all registered assets with their current book value.
2
Add a new asset
Enter asset name, purchase date, cost, useful life, and depreciation method (Straight Line or Declining Balance).
3
Run monthly depreciation
Click 'Run Depreciation' at month-end. The system automatically posts depreciation journal entries.

Audit Trail

Every action in the accounting module is logged โ€” who did what, when, and what changed. This creates a fully auditable record.

1
Go to Accounting โ†’ Audit Trail & Log
Filter by date, user, action type, or document to find specific events.
2
Review changes
Each log entry shows the before and after values for any modified field.
3
Export for auditors
Export the audit log to Excel or PDF to share with external auditors.
โ„น๏ธ
NoteThe Audit Trail cannot be deleted or modified โ€” it is a permanent, read-only record of all accounting activity.